3 Simple Methods to Clean Up Unwanted Keyboard Layouts in Windows 11/10
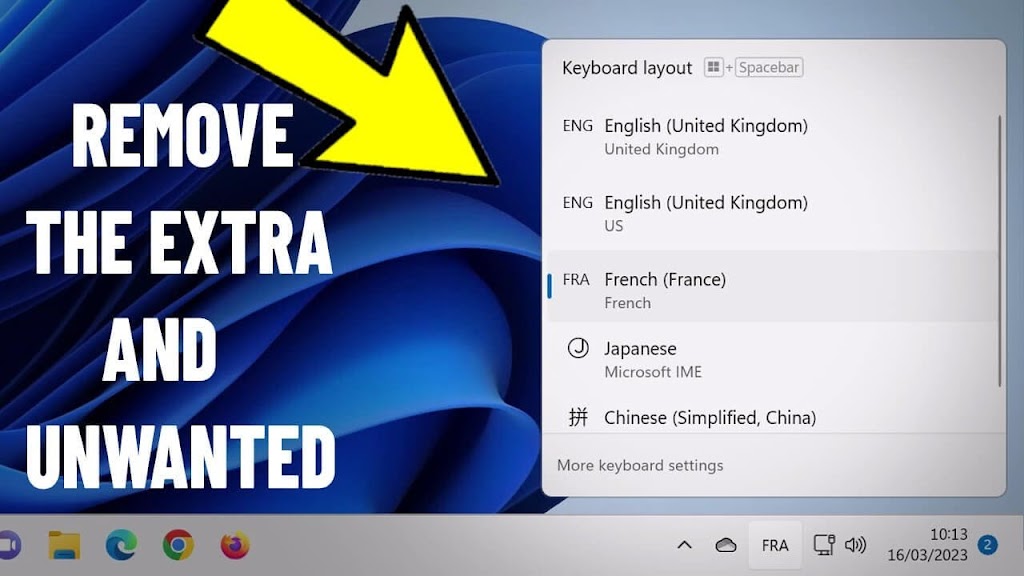
Struggling with too many keyboard layouts cluttering your Windows taskbar? Extra language inputs can cause accidental typing switches and slow down your workflow. In this step-by-step guide, we’ll show you how to remove unused keyboard layouts in Windows 10/11 using three proven techniques—no technical expertise needed!
Why Remove Unwanted Keyboard Layouts?
Multiple language inputs can lead to:
- Accidental language switches while typing
- Cluttered system tray icons
- Slower language preference management
- Confusion during login screens
Clean up your setup with these easy fixes👇
Method 1: Uninstall via Settings (Beginner-Friendly)
Best for: Quick removal without commands or registry edits.
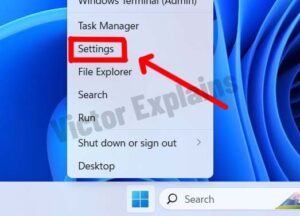
1. Open Settings: Right-click the Start button > Settings (or press Win + I).
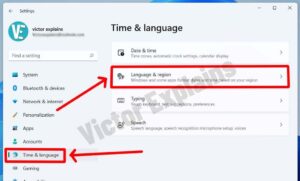
2. Navigate to Languages: Go to Time & language > Language & region.
3. Delete Unused Languages:
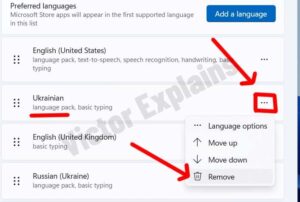
◦ Under Preferred languages, click the ⋯ icon next to the language you want to remove.
◦ Select Remove > Confirm.
4. Repeat for other languages.
Pro Tip: Windows retains keyboard layouts if the language is still installed. To fully remove them, delete the associated language pack first.
Method 2: Edit Registry (Advanced Users)
Use this if: Settings don’t fully remove hidden layouts.
⚠️ Caution: Backup your registry first (File > Export in Regedit).
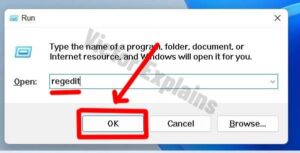
1. Press Win + R, type regedit, and hit Enter.
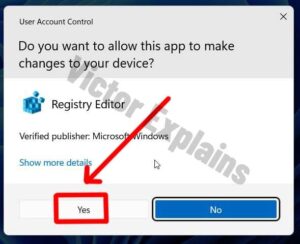
2. Click Yes when prompted by User Account Control (UAC).
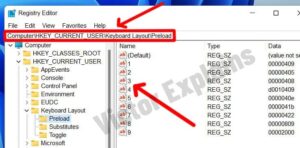
3. Navigate to:
Computer\HKEY_CURRENT_USER\Keyboard Layout\Preload
4. Identify Layouts:
◦ Each numbered entry corresponds to your installed layouts (order matches your Settings list).
5. Right-click unwanted entries > Delete.
6. Restart your PC to apply changes.
Note: Misplaced entries? Compare registry values with your Settings language list to avoid errors.
Method 3: PowerShell Command (For Power Users)
Ideal for: Bulk removal or scripting.
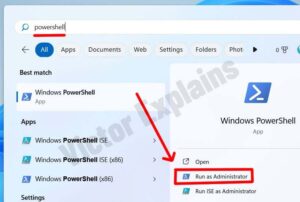
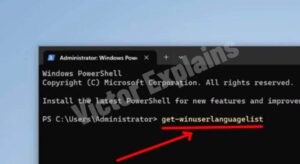
1. Open PowerShell as Admin:
Search “PowerShell” > Right-click > Run as administrator.
2. List Current Layouts:
Copy this command text and paste it on powershell
get-winuserlanguagelist
Note the language codes (e.g., en-US for English).
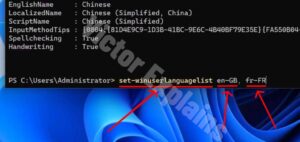
3. Set New Layouts:
Copy this command text and paste it on powershell
set-winuserlanguagelist -LanguageList “en-US, fr-FR” -Force
Replace en-US, fr-FR with your preferred codes.
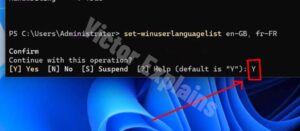
4. Type Y to confirm > Close PowerShell.
Success! Your system now displays only the languages you specified.

