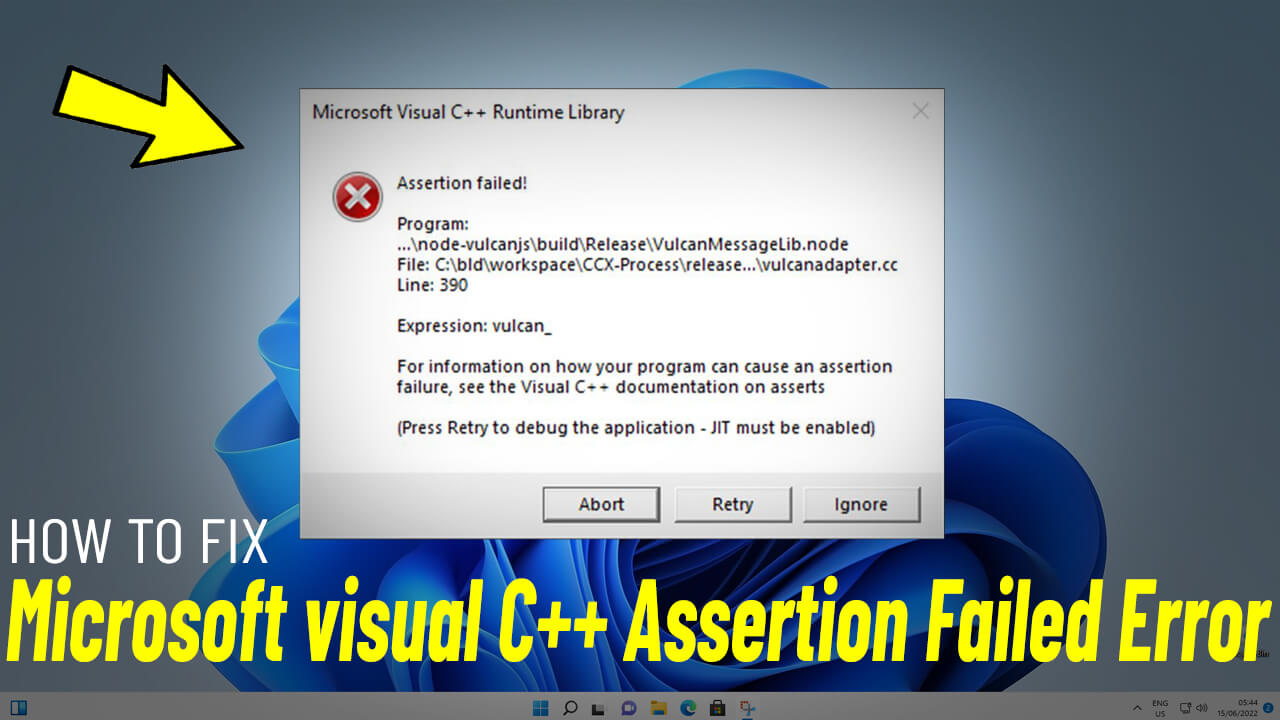
How to Resolve Microsoft Visual C++ Assertion Failed Error in Windows 11/10/8/7: A Step-by-Step Guide
Step-by-Step Solution to Fix Microsoft Visual C++ Assertion Failed Error
Step 1: Download the Adobe Creative Cloud Cleaner Tool
Click on This Link to download the Adobe Creative Cloud Cleaner Tool. This tool is designed to remove corrupted or problematic Adobe installations that may be causing the error.
Step 2: Extract the Downloaded File
Once the download is complete, locate the file on your computer and extract it to a folder of your choice.

Step 3: Run the Adobe Creative Cloud Cleaner Tool
Open the extracted folder and double-click on AdobeCreativeCloudCleanerTool.exe to launch the tool.
Step 4: Grant Administrative Permissions
⚬ When prompted by User Account Control (UAC), click Yes to allow the tool to make changes to your system.

⚬ The tool will open in a command prompt window. Type “e” to select English as the language and press Enter.

⚬ Type “y” and press Enter to confirm that you want to proceed with the tool.

⚬ You’ll be presented with a list of options. Type “1” and press Enter to select the default cleaning option.

⚬ Next, type “2” and press Enter to choose the Clean All option. This will remove all Adobe-related files that might be causing the issue.

⚬ Type “y” and press Enter to confirm your choice. Once the cleaning process is complete, press Enter again to close the prompt.

Step 5: Restart Your PC
Finally, restart your computer to ensure all changes take effect. After the restart, the Microsoft Visual C++ Assertion Failed error should be resolved.
By following this guide, you can effectively resolve the Microsoft Visual C++ Assertion Failed error and prevent it from recurring. If the issue persists, consider seeking further assistance from Microsoft Support or a professional technician.