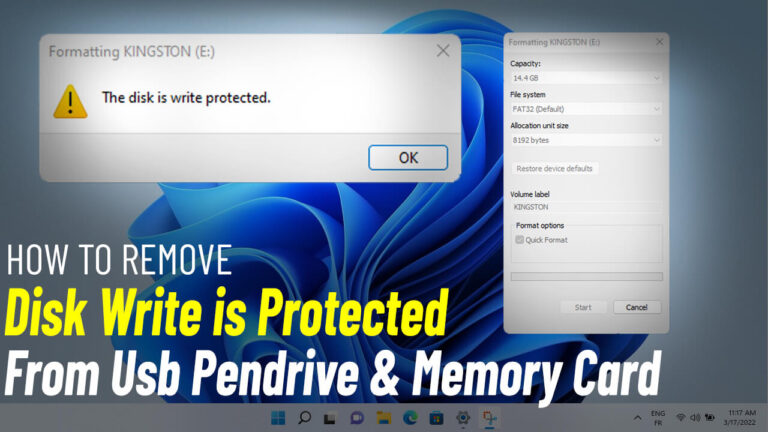
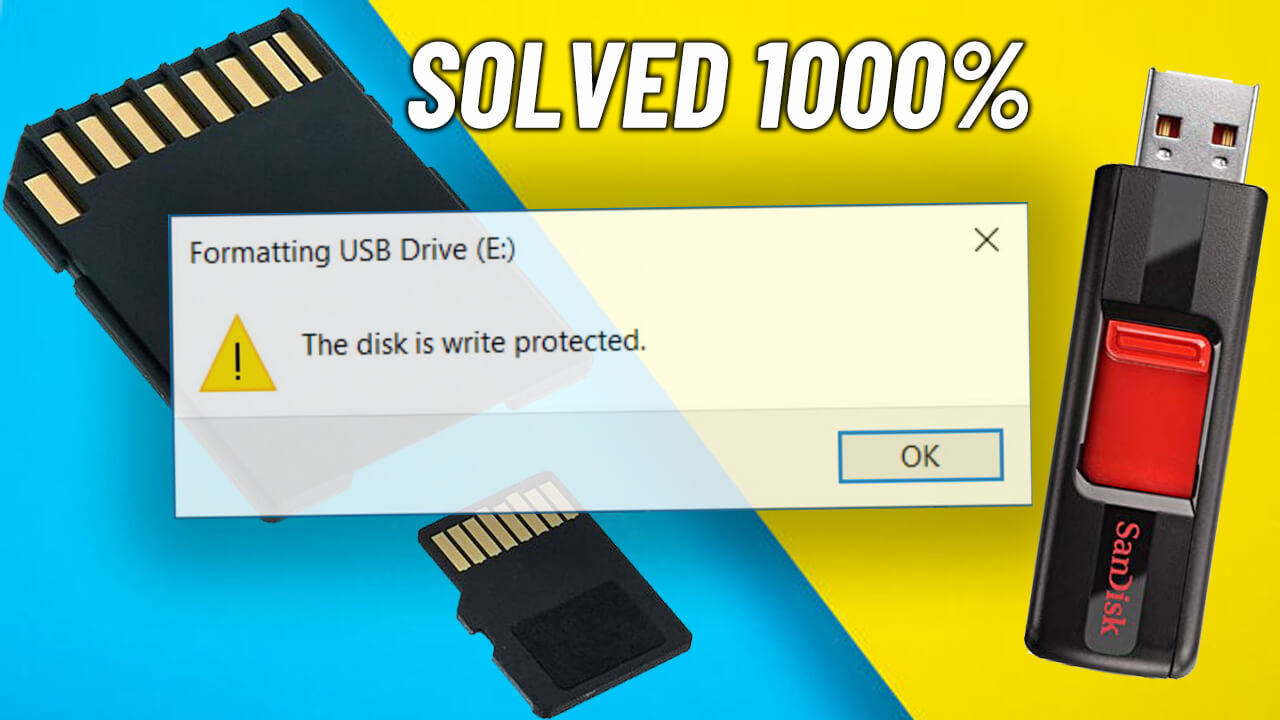
How to Remove Write Protection from USB Pendrive & SD Card: A Step-by-Step Guide
Step 1: Insert Your USB Pendrive or SD Card
Begin by connecting your USB pendrive or SD card to your PC or laptop. Ensure that the device is properly inserted and recognized by your computer.
Step 2: Download Restore v3 Software
To remove write protection, you’ll need a reliable tool like Restore v3. Download the software from a trusted source or from Here. Make sure to choose a secure website to avoid malware or viruses.
Step 3: Run the Restore v3 Tool
Once the software is downloaded, open it. If you encounter a “Windows protected your PC” pop-up message, don’t panic. Simply click on “More Info” and then select “Run Anyway” to proceed.
Step 4: Select the Restore Option
Inside the Restore v3 tool, locate and click on the “Restore” option. A confirmation prompt will appear—click “Yes” to start the restoration process.
Step 5: Wait Patiently
The restoration process may take some time, depending on the size and condition of your USB or SD card. Do not unplug your device during this process, as it may cause further damage or data loss.
Step 6: Handle Errors (If Any)
If you encounter an error message like “Restore fail, Please contact your vendor. Error code: 46”, don’t worry. Simply close all windows, safely eject your USB pendrive, and reinsert it into your PC. Then, try formatting the device again.
Step 7: Format Your USB Pendrive or SD Card
After successfully removing write protection, your device should now be ready for formatting. Open your file explorer, right-click on the USB or SD card, and select “Format”. Choose your desired file system (e.g., FAT32, NTFS) and complete the process.
Congratulations!
You’ve successfully removed write protection from your USB pendrive or SD card. Now, you can use your device without any restrictions. If you encounter further issues, consider checking for hardware damage or consulting the device manufacturer.

.jpg)


