How to Fix Mi Account Relock on Xiaomi, Redmi, and Poco Phones: A Step-by-Step Guide
What is Mi Account Relock?
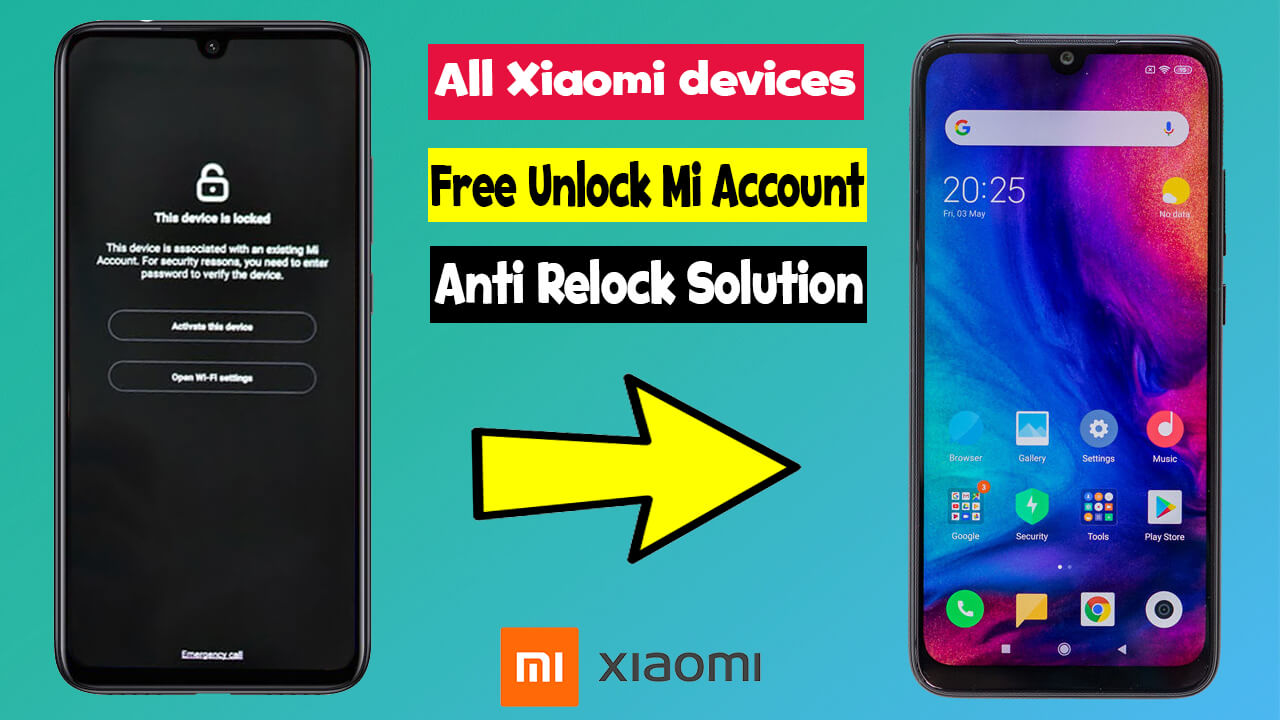
Mi Account relock is a security feature implemented by Xiaomi to protect devices from unauthorized access. However, it can sometimes cause inconvenience, especially if you’ve forgotten your Mi Account credentials or purchased a second-hand device. Fortunately, there’s a way to bypass this issue using the Drony Anti-Relock APK.
Step-by-Step Guide to Fix Mi Account Relock
Step 1: Download Drony Anti-Relock APK
- On your Xiaomi, Redmi, or Poco device, download the Drony Anti-Relock APK
from a trusted source. - Ensure that your phone allows installations from unknown sources. To enable this,
go to Settings > Security > Install Unknown Apps and grant permission to your browser or file manager.
Step 2: Install and Configure Drony Anti-Relock
1. Install the APK: Locate the downloaded file and install it on your device.
2. Grant Permissions:
Open the Drony app and allow access to device location, photos, media, and files.
3. Enable Autostart and Permissions:
Go back to your home screen, long-press the Drony app icon, and select App Info.
Enable Autostart and set Always Allow for other permissions.
Step 3: Set Up Drony Anti-Relock Rules
1. Open the Drony app and swipe left to access Settings.
2. Select Filter and choose Allow All in the default value list.
3. Go to Rules and click the + (plus) button in the top-right corner.
4. Select Application and scroll down to find Find Device. Tap on it and save the rule.
5. Repeat the process for Updater and save it as well
6. Go back to the main screen and toggle the OFF button to ON to activate the rules.
Step 4: Configure VPN Settings
- Go to Settings > VPN and set a lock screen password (you can choose a pattern, PIN, or password).
- Enable Always-on VPN and Block Connections Without VPN.
Step 5: Disable Update Notifications
- Navigate to Settings > System Apps > Updater.
- Tap the gear icon in the top-right corner.
- Turn off Show Update Notifications to prevent automatic updates that could trigger a relock.
Step 6: Enjoy Unrestricted Access
Congratulations! You’ve successfully bypassed the Mi Account relock issue. Now you can use your device with Wi-Fi or mobile data (3G/4G) without worrying about Mi Cloud or Mi Account relocking your phone.
Why Use Drony Anti-Relock?
Drony Anti-Relock is a powerful tool that helps you bypass Xiaomi’s security restrictions without compromising your device’s functionality. It’s particularly useful for users who’ve forgotten their Mi Account credentials or are using second-hand Xiaomi devices.
Tips to Avoid Mi Account Relock in the Future
- Remember
Your Mi Account Credentials: Always keep your Mi Account username and password safe. - Avoid Resetting Your Phone: If you’ve bypassed the relock issue, avoid performing a factory reset unless absolutely necessary.
- Stay Updated: Keep an eye on Xiaomi’s official updates and community forums for any changes in their security policies.
By following this guide, you can easily fix the Mi Account relock issue and enjoy uninterrupted access to your Xiaomi, Redmi, or Poco device. If you found this guide helpful, share it with others who might be facing the same problem!
Disclaimer: This guide is intended for educational purposes only. Ensure you comply with Xiaomi’s terms of service and use your device responsibly.


