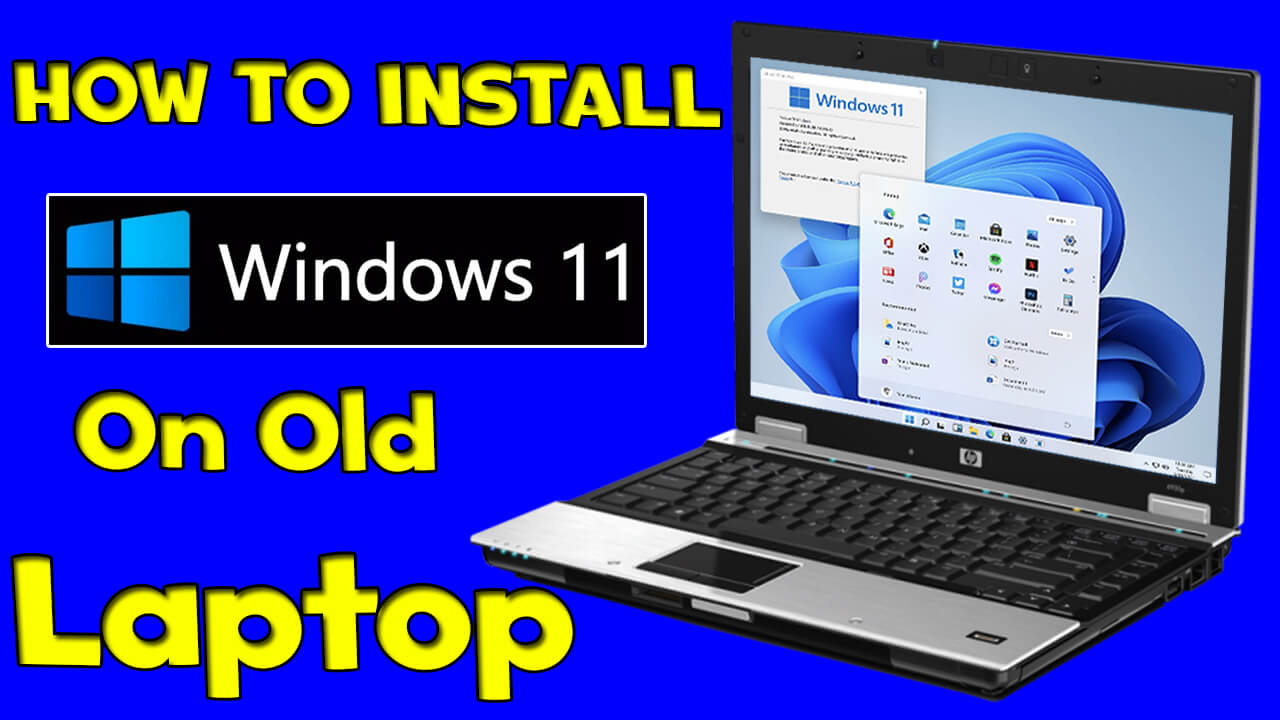
How to Install Windows 11 on an Old Laptop Using a USB Flash Drive: A Step-by-Step Guide
Upgrading to Windows 11 doesn’t require a brand-new laptop! Even if you’re using an older device, you can easily install Windows 11 using a USB flash drive. This guide will walk you through the process, ensuring a smooth and hassle-free installation.
What You’ll Need:
- A USB flash drive (minimum 8GB storage).
- A working computer to create the bootable USB.
- Rufus (a free tool to create bootable USB drives).
- Windows 11 ISO file.
Step 1: Download Rufus and Windows 11 ISO
- Download Rufus: Visit the official Rufus website and download the latest version of the program.
Rufus is a lightweight and reliable tool for creating bootable USB drives. - Download Windows 11 ISO: Head to the official Microsoft website and download
the Windows 11 ISO file. Make sure to select the correct version that matches your system requirements.
Step 2: Prepare Your USB Flash Drive
- Insert your USB flash drive into your computer.
- Open Rufus and select your USB drive from the Device dropdown menu.
- Click on Select and choose the Windows 11 ISO file you downloaded earlier.
Step
3: Configure Partition Scheme (MBR or GPT)
- Before proceeding, determine whether your laptop uses MBR (Master Boot Record) or GPT (GUID Partition Table). Here’s how:
- Open Disk Management on your laptop.
- Right-click on your disk, select Properties, and go to the Volumes tab.
- Check the Partition Style to see if it’s MBR or GPT.
- In Rufus, select the appropriate partition scheme (MBR or GPT) based on your laptop’s configuration.
Step 4: Create the Bootable USB Drive
- Once you’ve selected the ISO file and configured the partition scheme, click the Start button in Rufus.
- A warning pop-up will appear, notifying you that all data on the USB drive will be erased. Ensure you’ve backed up any important files, then click OK to proceed.
- Rufus will now create the bootable USB drive. This process may take a few minutes, so be patient.
Step 5: Install Windows 11 on Your Old Laptop
- Insert the bootable USB drive into your old laptop.
- Restart your laptop and press the appropriate key (usually F2, F12, ESC, or DEL) to access the boot menu.
- Select the USB drive from the boot menu to start the Windows 11 installation process.
- Follow the on-screen instructions to format your laptop’s drive and complete the Windows 11 setup.
Pro Tips:
- Backup Your Data: Before installing Windows 11, make sure to back up all important files to avoid data loss.
- Check System Requirements: While this method works for most old laptops, ensure your device meets the minimum system requirements for Windows 11.
- Activate Windows: After installation, you may need to activate Windows 11 using a valid product key.
By following these steps, you can breathe new life into your old laptop with Windows 11. Enjoy the latest features, improved performance, and a modern interface without needing to invest in a new device!
” If you find any broken links or wrong password, please leave a comment ”

