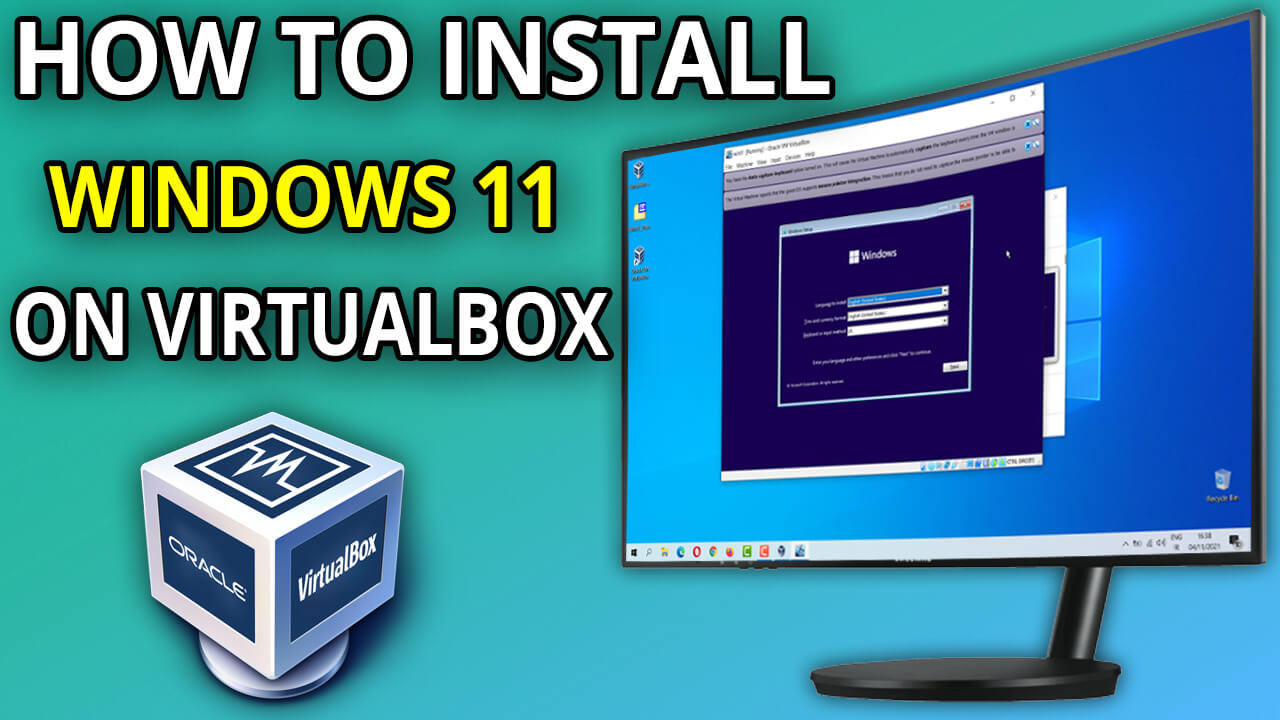
How to Install Windows 11 on VirtualBox in 2025: A Step-by-Step Guide
If you’re eager to explore Windows 11 without altering your current system, running it on VirtualBox is the perfect solution. This comprehensive guide will walk you through the entire process of installing Windows 11 on VirtualBox in 2024. Whether you’re a
developer, tester, or tech enthusiast, this tutorial ensures a seamless setup. Let’s dive in!
Why Install Windows 11 on VirtualBox?
VirtualBox is a free, open-source virtualization tool that allows you to run multiple operating systems on a single machine. Installing Windows 11 on VirtualBox is ideal for:
- Testing new features without affecting your main OS.
- Running Windows-specific software on non-Windows systems.
- Learning and experimenting in a safe, isolated environment.
What You’ll Need
Before starting, ensure you have the following:
- A computer with sufficient resources (at least 4GB RAM and 50GB free storage).
- A stable internet connection to download the required files.
- The latest version of VirtualBox and a Windows 11 ISO file.
Step 1: Download VirtualBox and Windows 11 ISO
- Download VirtualBox: Visit the official VirtualBox website and download the latest version compatible with your operating system.
- Download Windows 11 ISO: Head to the Microsoft Windows 11 download page and grab the official ISO file.
Step 2: Install VirtualBox on Your System
- Locate the VirtualBox installer file and double-click to launch it.
- Follow the on-screen instructions to complete the installation.
- Once installed, open VirtualBox to begin setting up your virtual machine.
Step 3: Set Up a New Virtual Machine for Windows 11
- In VirtualBox, click the New button to create a new virtual machine.
Step 4: Allocate System Resources
- Assign RAM: Allocate at least 2GB of RAM for smooth performance. If your system has more resources, you can increase this amount.
- Create a Virtual Hard Disk: Select Create a virtual hard disk now and click Create.
- Choose VDI (VirtualBox Disk Image) as the file type and click Next.
- Select Dynamically allocated to optimize storage usage.
- Set the hard disk size to at least 50GB (or more if you plan to install large applications).
- Click Create to finalize the virtual hard disk setup.
Step 5: Configure the Virtual Machine for Windows 11 Installation
- Go to Settings > Storage.
- Under the Storage Devices section, click on the Empty disk icon.
- Check the Live CD/DVD option to enable booting from the ISO file.
- Click the CD icon next to the Optical Drive and select Choose a disk file.
- Browse to the location where you saved the Windows 11 ISO file, select it, and click Open.
- Click OK to save the configuration.
Step 6: Start the Virtual Machine and Install Windows 11
- Click Start to launch the virtual machine.
- The Windows 11 setup screen will appear. Follow these steps:
- Select your preferred language, time, and keyboard layout, then click Next.
- Click Install Now to begin the installation process.
-
- Enter your product key (if available) or skip this step to activate later.
- Choose Custom: Install Windows only when prompted.
- Select the virtual hard disk you created and click Next to start the installation.
Step 7: Complete the Windows 11 Setup
- After the installation is complete, the virtual machine will restart.
- Follow the on-screen prompts to configure your user account, privacy settings, and preferences.
- Once done, you’ll be greeted with the Windows 11 desktop.
Optional: Enhance Your Virtual Machine with Guest Additions
To improve performance and enable features like seamless mouse integration and shared folders:
- In VirtualBox, go to Devices > Insert Guest Additions CD Image.
- Follow the on-screen instructions to install the Guest Additions software.
Conclusion
By following this detailed guide, you’ve successfully installed Windows 11 on VirtualBox. This setup allows you to explore the latest features of Windows 11 in a secure, isolated environment. Whether you’re testing software, learning, or experimenting, VirtualBox provides a flexible and efficient solution.
If you found this guide helpful, share it with others who might benefit from it. For more tech tutorials and tips, stay tuned to our blog!

