How to Install Windows 10 on Your Acer Aspire Switch 10e / 10V: A Step-by-Step Guide
Are you ready to install Windows 10 on your Acer Aspire Switch 10? Whether you’re upgrading or starting fresh with a clean installation, this guide will take you through the process step by
step. Let’s dive in!
What You’ll Need:
Before getting started, make sure you have the following:
1. A USB drive with at least 8 GB of storage (or larger).
2. The Windows 10 ISO file (you can download it directly from the Microsoft website).
3. Rufus software (available for download on the official Rufus website).
Step 1: Create a Windows 10 Bootable USB Drive
Steps to Create a Bootable USB:
1. Download and Run Rufus
First, head over to the Rufuswebsite and grab the latest version of the software. The best part? You don’t need to install it—Rufus is portable! Just download the .exe file and double-click it to run.
2. Insert Your USB Drive
Plug your USB drive into your computer. Important: Back up any important files on the USB, as this process will erase all data on it.
3. Launch Rufus
Open the Rufus application by double-clicking the .exe file. If a User Account Control (UAC) prompt pops up, click “Yes” to proceed.
4. Configure Rufus
Here’s what you’ll need to set up in Rufus:
- Device: Choose your USB drive from the dropdown menu.
- Boot Selection: Click “SELECT” and browse for your Windows 10 ISO file.
- Partition Scheme: Pick the correct option based on your system:
- MBR for older systems with BIOS or UEFI.
- GPT for modern systems with UEFI.
- File System: Leave it set to NTFS (default).
5. Start the Process
When everything is set, click the “START” button. Rufus might ask you to confirm some options, like choosing the standard Windows installation. It will also remind you that the USB will be wiped. Click “OK” to proceed.
6. Wait for Rufus to Work Its Magic
Rufus will now create your bootable USB drive. This might take a few minutes, so be patient. Once it’s finished, you’ll see a “READY” status in the Rufus window.
7. Safely Eject the USB
Once Rufus is done, safely eject your USB drive from the computer. Your bootable Windows 10 installation drive is ready to go!
Step 2: Install Windows 10 on Your Acer Aspire Switch 10
Now that your bootable USB is ready, let’s install Windows 10 on your Acer Aspire Switch 10.
1. Insert the Bootable USB Drive
Plug the USB drive into your device.
2. Boot from the USB Drive
Restart your Acer Aspire Switch 10.
Press the key to access the boot menu usually F2
Select the USB drive from the list of boot options and Put It In First Order and save the changes before exit.
3. Start the Installation Process
Once the setup screen appears, Press F12 to boot From Usb Bootable then select your language, time, and keyboard preferences, and click Next.
Click Install Now, and if asked, enter your Windows 10 product key.
4. Follow the On-Screen Instructions
Choose your installation type. For a clean install, select “Custom: Install Windows only.”
Select the partition where you want to install Windows 10. You can delete or format partitions if necessary.
Click Next to begin the installation.
5. Complete the Setup
After the installation finishes, your Acer Aspire Switch 10 will restart. Follow the prompts to set your region, language, and user account. Don’t forget to connect to Wi-Fi and customize your privacy settings.
Step 3: Final Touches and Enjoy!
Your Acer Aspire Switch 10 is now running Windows 10! To make the most of your fresh installation:
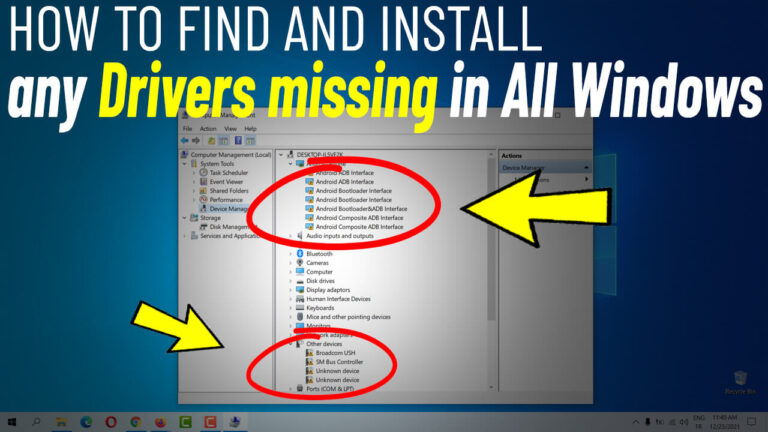
- Visit Acer’s official website to download and install the latest drivers.
- Ensure Windows 10 is activated.
- Set up your favorite apps and personalize your device to suit your style.


