How to Root Redmi 9: A Step-by-Step Guide for Beginners
Rooting your Redmi 9 can unlock a world of customization and advanced features, but it’s important to follow the process carefully to avoid any issues. In this guide, we’ll walk you through the step-by-step process to root your Redmi 9 safely and effectively. Let’s get
started!
Step 1: Unlock the Bootloader
Before you can root your Redmi 9, you need to unlock the bootloader. This is a crucial step as it allows you to modify the system software.
- You Can Watch This Tutorial or check out this guide for detailed instructions on unlocking the bootloader for your Redmi 9.
- Note: Unlocking the bootloader will erase all data on your device, so make sure to back up your important files.
Step 2: Enable Developer Options and USB Debugging
- Go to Settings > About Phone and tap on MIUI Version 7 times until you see a message saying, “You are now a developer.”
- Go back to Settings > Additional Settings > Developer Options.
Step 3: Disable Lock Screen Password
To avoid any issues during the rooting process, disable your lock screen password:
- Go to Settings > Password & Security and remove any screen lock (pattern, PIN, or password).
Step 4: Ensure Your Battery is Fully Charged
Rooting can take some time, so make sure your Redmi 9 is charged to at least 80% to prevent the device from shutting down mid-process.
Step 5: Boot into Fastboot Mode
- Restart your Redmi 9.
- As soon as the phone reboots, press and hold the Volume Down button to enter Fastboot Mode.
- Connect your Redmi 9 to your PC or laptop using a USB cable.
Step 6: Download and Flash Recovery File
- Download the Recovery Redmi 9 file from Here .
- Unzip the file on your computer.
- Open the folder and run the following files one by one:
- flash1.bat
- flash2.bat
- flash3.bat
This will install a custom recovery (like OrangeFox or TWRP) on your device.
Step 7: Boot into Recovery Mode
- Once the flashing process is complete, your phone will turn off.
- Quickly press and hold the Volume Up button to boot into Recovery Mode.
- You should now see the OrangeFox Recovery screen.
Step 8: Install Magisk for Root Access
- Download the Magisk.zip and Magisk.apk files .
- Transfer these files to your Redmi 9 using an SD card or USB OTG.
- In the OrangeFox Recovery menu, select Install and locate the Magisk.zip file.
- Swipe to confirm the installation.
- After installation, go to Wipe > Wipe Cache and swipe to clear the cache.
- Reboot your system.
Step 9: Install Magisk Manager
- Once your phone restarts, locate the Magisk.apk file and install it.
- Open the Magisk app to verify root access.
Step 10: Verify Root Access
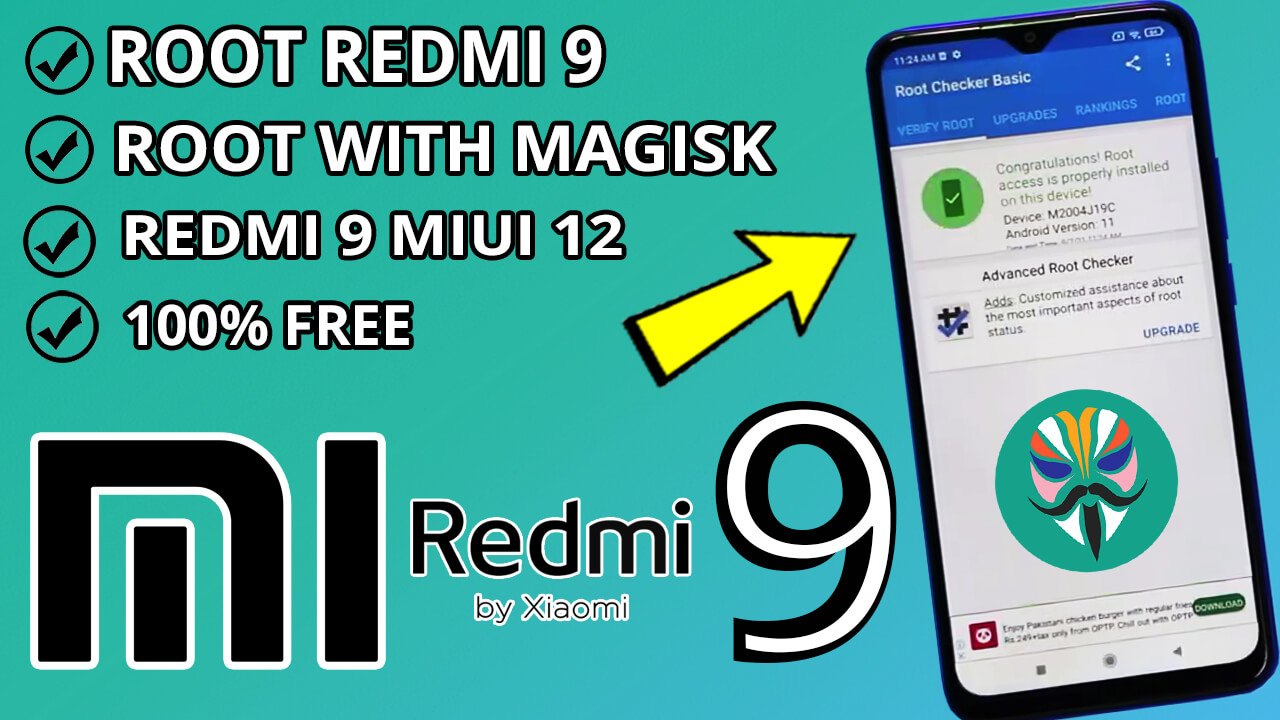
To confirm that your Redmi 9 is successfully rooted, download a root checker app from the Play Store and run it. If everything is done correctly, you’ll see a message confirming root access.
Congratulations! Your Redmi 9 is Now Rooted
By following these steps, you’ve successfully rooted your Redmi 9. Enjoy the freedom to customize your device, install custom ROMs, and access advanced features. Remember, rooting voids your warranty, so proceed with caution and always back up your data.


